 名古屋帯
名古屋帯
 袋帯
袋帯
 紬・綿・自然布
 小紋・江戸小紋
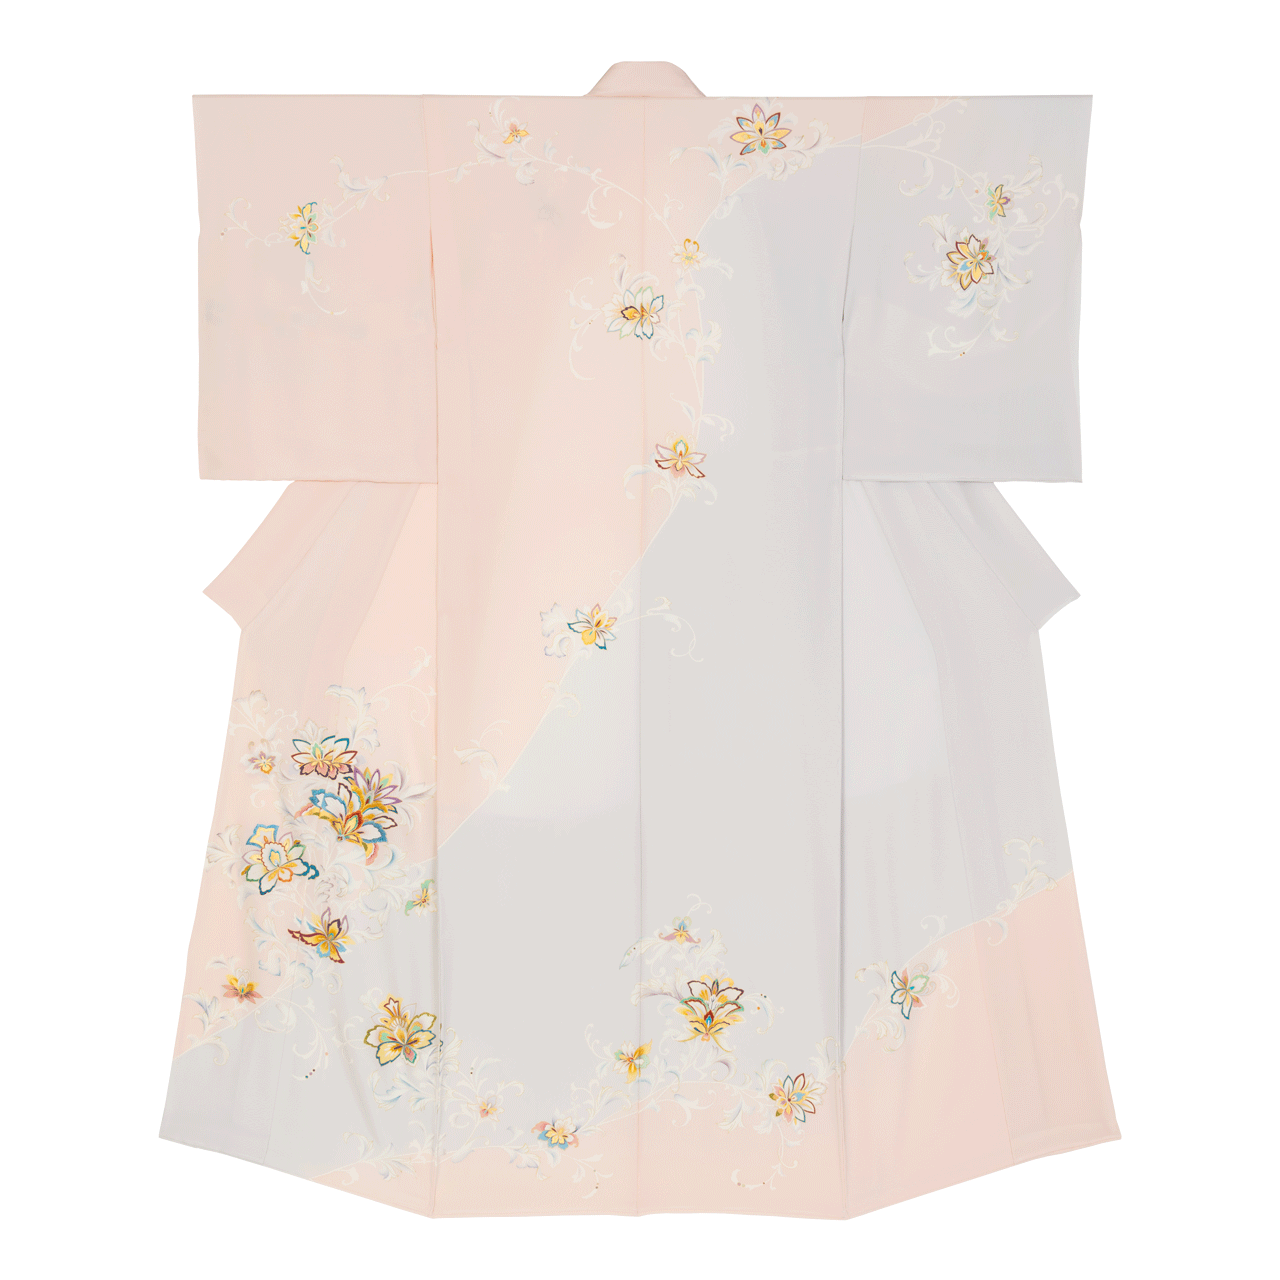 訪問着・付下げ・色無地ほか
 浴衣・半巾帯
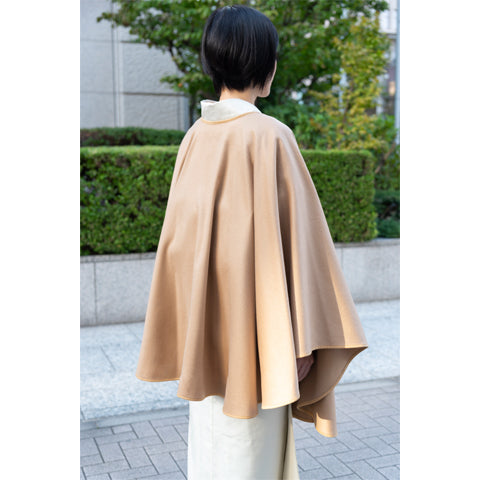 羽織・コート
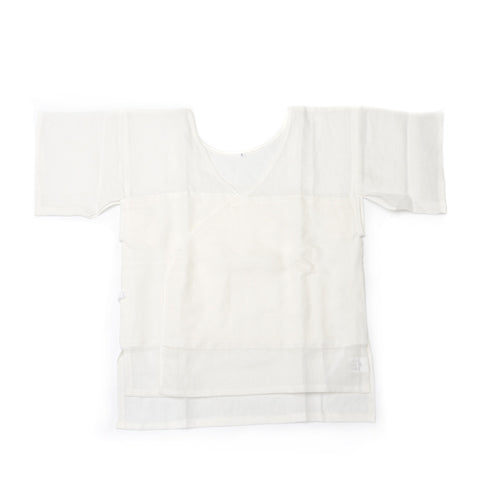 肌着
肌着
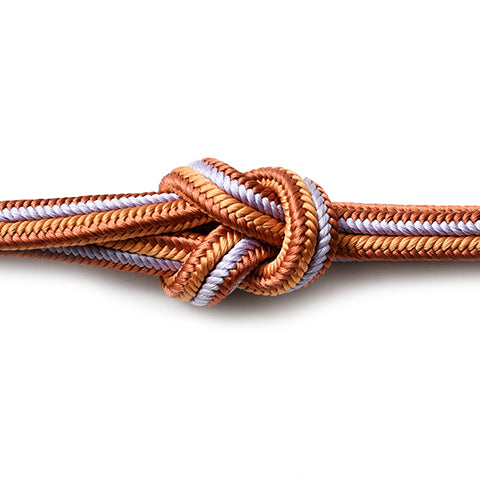 小物
小物
 履物
履物
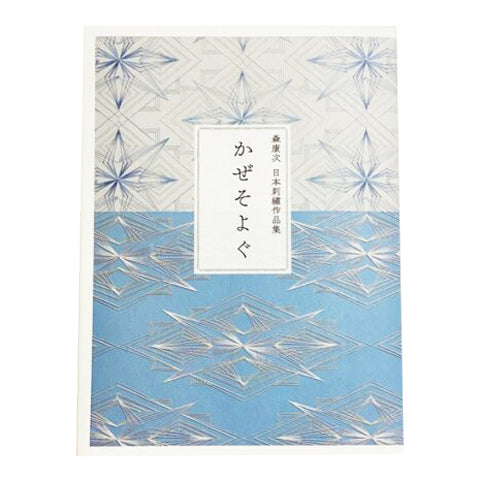 書籍
書籍
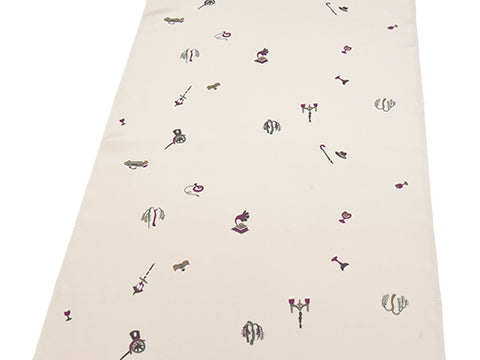 長襦袢
長襦袢
 小物
小物
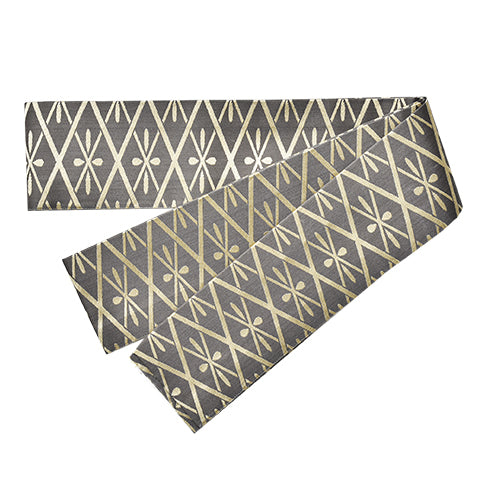 帯
帯
 お召
お召
 小紋・江戸小紋
 紬・綿・自然布
 袴
袴
 長襦袢
長襦袢
 浴衣
浴衣
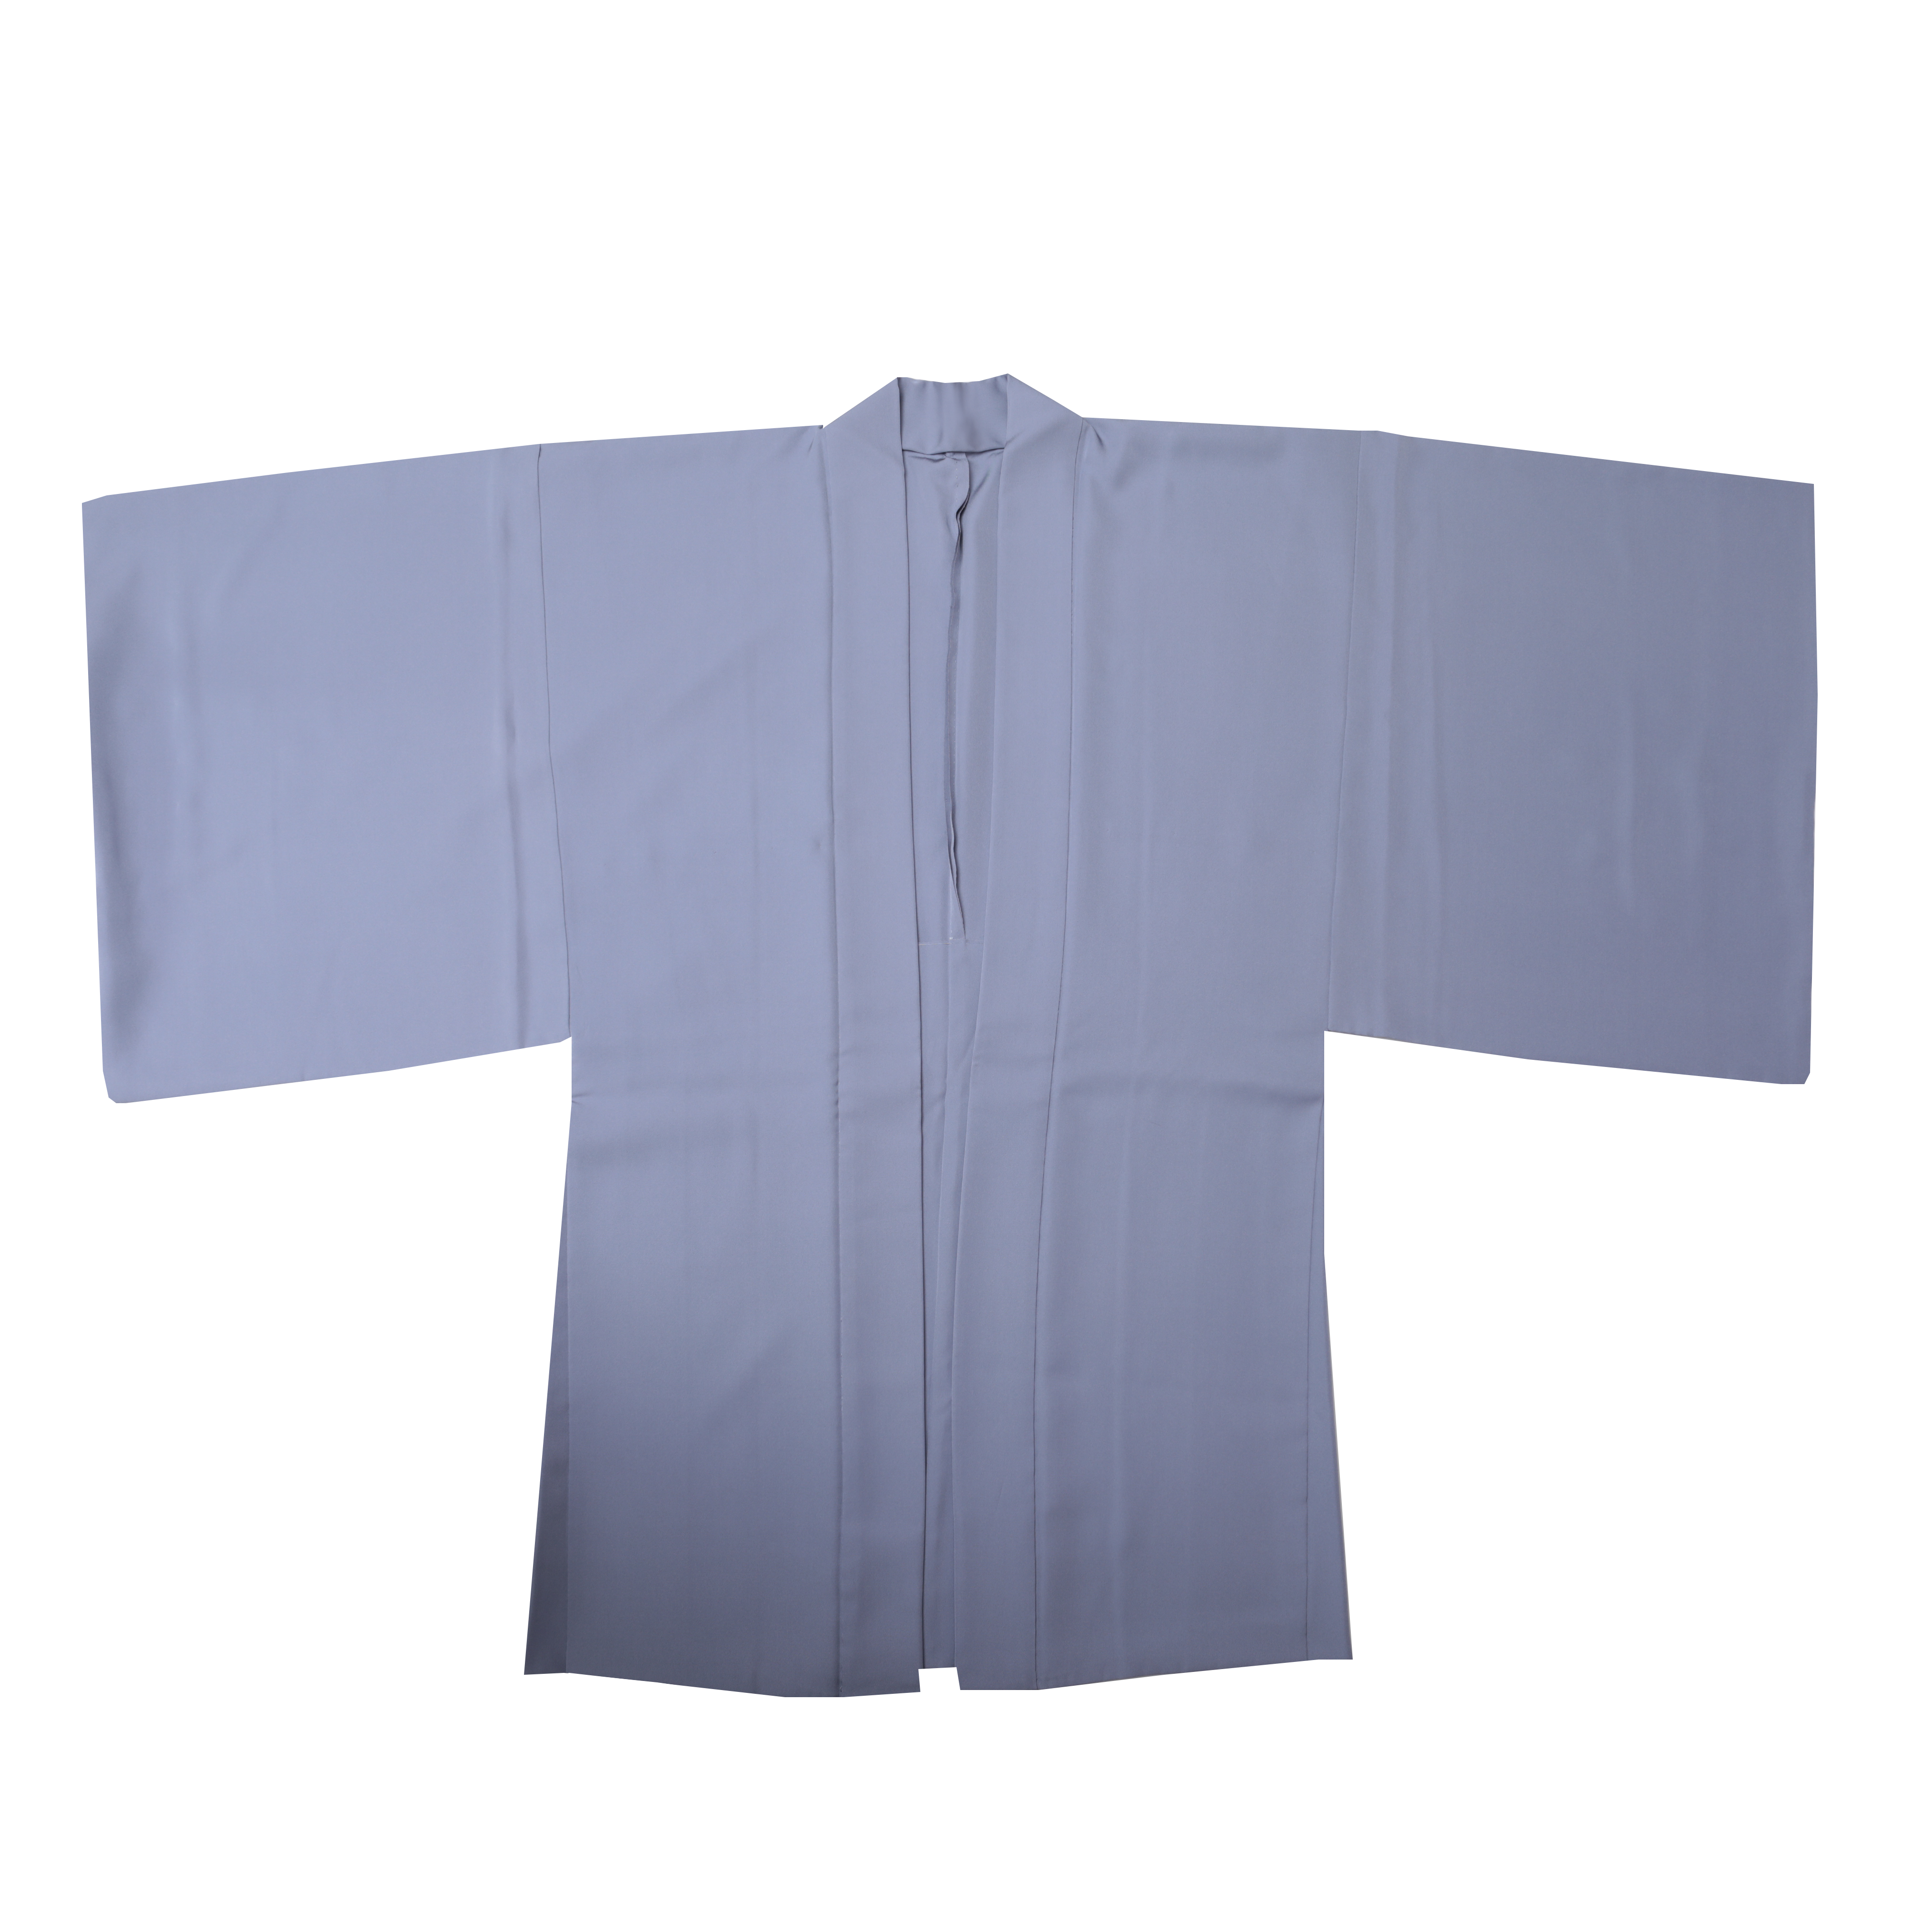 羽織・コート
 額裏
額裏
 肌着
肌着
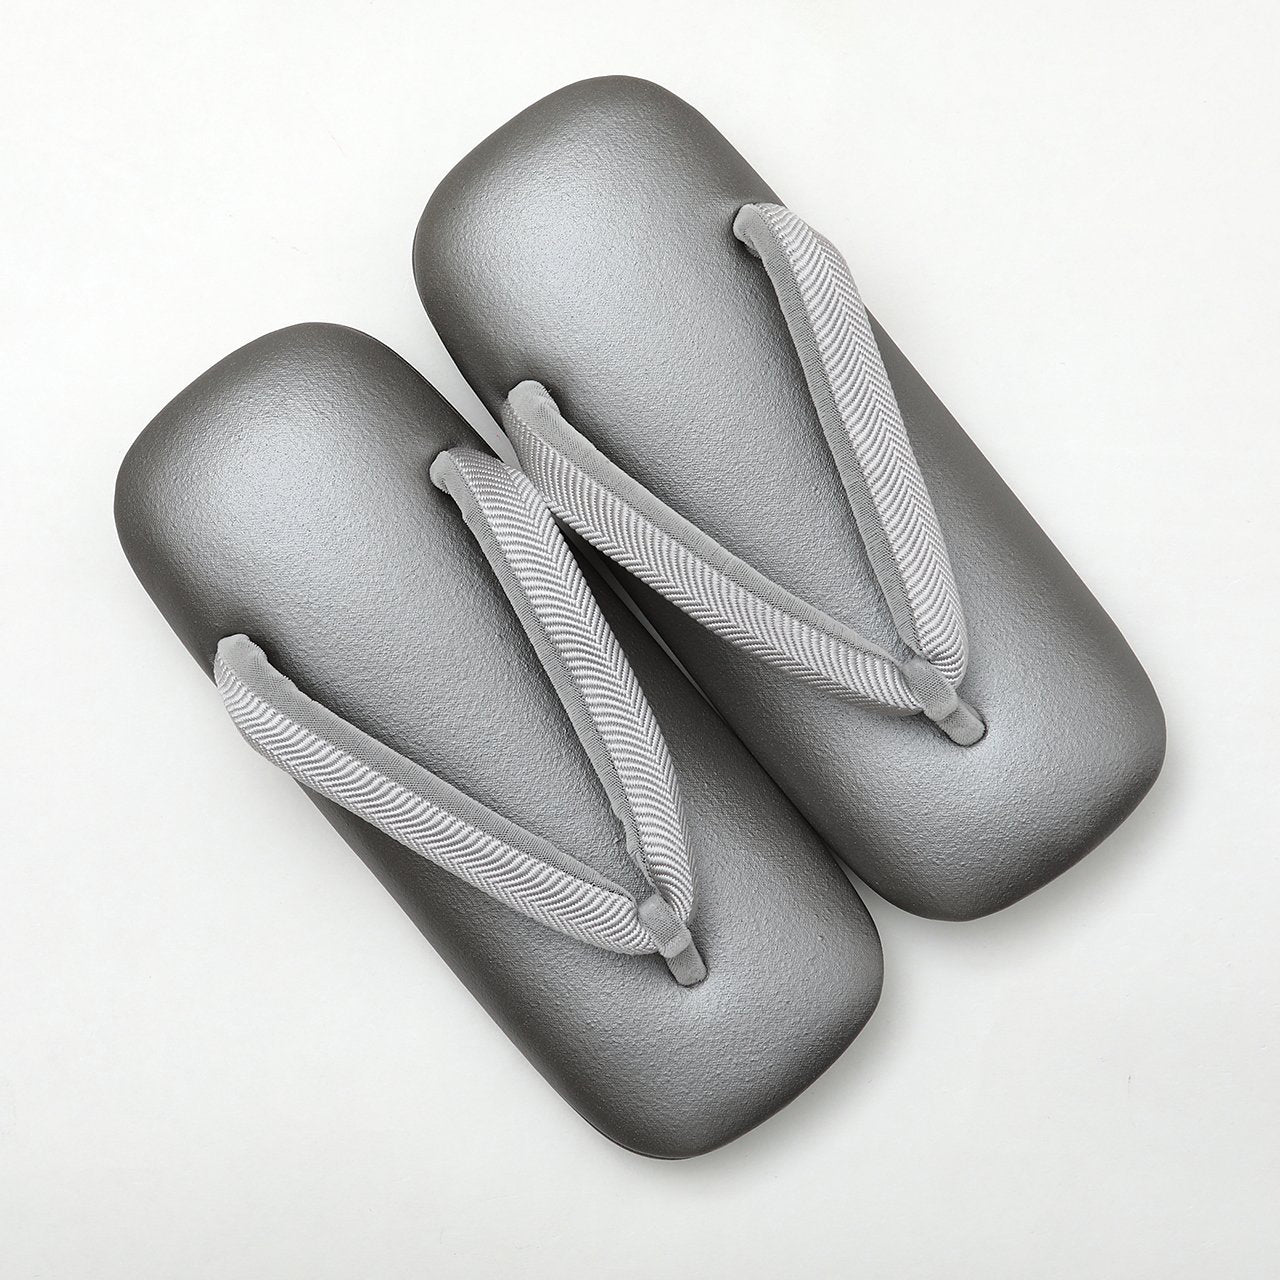 履物
履物
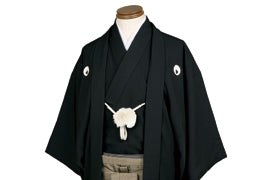 紋付
紋付
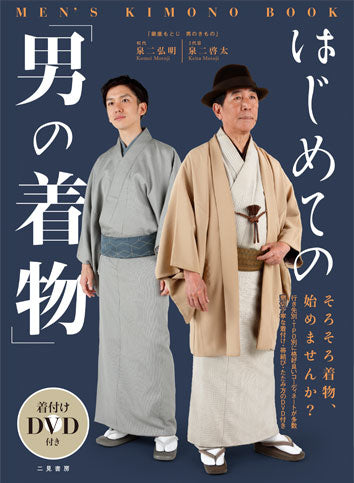 書籍
書籍

The Making of Yuki-Chijimi
The Yuki Chijimi Revival Project was launched in 2021 to rekindle interest in the Chijimi weave and reproduce two historical Yuki Chijimi patterns. The project used Platinum Boy silk, a unique silk exclusively available at Ginza Motoji. The revived patterns were selected through a customer popularity vote at Ginza Motoji, based on antique Chijimi fabric fragments. This text is being translated from Japanese to English in 2025.
The Production Process of Yuki Chijimi
1. Making the Thread
2. Choosing the Colour
3. Kukuri and Thread Twisting
4. Dying
5. Weaving
6. Finishing
This is a 6 part series. Links to the other 5 chapters will be linked as they are posted.
Step 3 : Tying the Resist Threads. (Kasuri-Kukuri, 絣くくり)
Once the desired pattern and colors have been decided, the next step is to prepare the kasuri threads. Kasuri (often compared to “ikat” in other textile traditions) involves binding sections of yarn so they resist the dye—a process called “kasuri-kukuri.” By tying cotton thread around specific areas before dyeing, those parts remain undyed or take on a different color.
When we visited, artisans were painstakingly hand-tying these resist bindings for a men’s pattern called “Yagasuri” (arrow-feather). Uniquely, this Yagasuri design relies solely on the warp threads, a technique known as “warp kasuri” (tate-gasuri), and it uses the “tate-moro kasuri” method—now a rarity in modern weaving.

A loom for Honba Yuki Chijimi. Note the warp threads, half raised and half lowered.
In tatemoro-gasuri, both the upper and lower warp threads are kasuri (patterned) threads, which makes aligning the patterns more technically demanding than usual.
The reason keimoro-gasuri is extremely rare in Yuki Tsumugi has to do with the fundamental mechanism of the loom: the warp threads are split into upper and lower sets, and the weft thread is passed between them as weaving progresses. Unlike other looms, the traditional jibata loom used in Yuki Tsumugi weaving moves only the lower warp threads up and down. As a result, the upper and lower warp threads can become misaligned during weaving, so it has long been standard practice in the region to place the kasuri pattern only on the upper warp threads.
When creating kasuri threads, a tool called a “tate-waku” (経枠) is typically used to form the patterns. However, this time we chose not to use it, instead following the technique that would have been used when the old fragment was originally woven.
It is said that the tate-waku was invented in the early Shōwa period, so this method did not exist at the time the reference swatch was created.

The Tatewaku frame, which is used to prepare the Kasuri threads.
Hajime Mori, who oversaw the making of this kimono, shared his dedication during the production phase, saying, "As I focused on the design and considered the most accurate way to restore it, I naturally ended up choosing techniques close to those used at the time."

Mori Hajime doing binding the blue silk thread with white cotton threads, in a step called kukuri.
Kukuri refers to a technique in which the parts of the thread you want to leave undyed (to form a pattern) are tightly bound with cotton thread soaked in water, ensuring that those sections remain undyed during the dyeing process. In this particular case, because the plan was to create a black yagasuri (arrow-feather) pattern on a blue background, they first dyed the entire yarn blue. Then, in a reversal of the usual procedure, they tied up everything except the sections intended for the black yagasuri, preventing those other areas from being dyed further.
However, because this method required tying a much larger area, simply using cotton thread could result in uneven dyeing. In response, Ms. Mori devised a method of combining tape and cotton thread for the kasuri kukuri process.

First, the tape is wrapped.

After that, the two edges of the tape are tied with cotton thread. By doing this, you can ensure that the tied-off area will definitely remain undyed.

The thread for the yagasuri kimono. The blue thread on the left will stay blue as they are, and the kukuri bound threads on the right will be dyed.
Once the threads have all been bound, they are then passed onto the dyer.

Motoji Keita with Mr. & Mrs. Mori.
Step 4:Thread Twisting (Nenshi, 撚糸)
After the thread-dyeing process is complete, the yarn is delivered to a twisting facility. Currently, there are three yarn-twisting workshops in Yuki, and among them, the only one that specializes exclusively in twisting is Kuramochi-san, who handled this project. When we visited, they happened to be twisting yarn for our revival women's pattern called “Ken-hanabishi” (literally “sword-flower-diamond”).

Thread twisting Tool
Yuki-chijimi yarn needs to be even more uniform than Yuki-tsumugi yarn. Because the yarn is twisted, any inconsistencies in thickness cause the twist to concentrate in the thinner sections, making them prone to snapping.


They twist the thread approximately 2,000 times per meter. After lightly spraying it with water, they apply 1,000 twists first, and then again once more.
“Platinum Boy yarn was very easy to work with during twisting because it’s strong and doesn’t break easily,” says Kuramochi-san.
Platinum Boy cocoons use raw cocoons (nama-mayu) that are kept alive and refrigerated so the pupae do not emerge. Compared to cocoons that have been fully dried with hot air for long-term storage (kan-mayu), this process produces a finer, stronger thread.

Motoji Keita with Kuramochi-san, outside her workshop.
Once the threads have been twisted, they are then finally ready to be woven. As we revisit and unravel the techniques of the past, now using top-grade platinum boy silk that did not exist at the time to weave Yuki-chijimi. What kind of fabric will emerge from this? We hope you will look forward to witnessing the completion of a textile unlike anything anyone has seen before.